
How To Paint Stained Wood: From Five Steps To Three
Posted by : Latex Agent /
Wood decorations and finishes are a huge trend right now. Whether someone wants a country feel or a rustic touch, wood can be joined into completing the perfect look for a home. One of the biggest issues people face while decorating is painting over stained wood, especially when dealing with Polyurethane or other finishes. The good news is that it doesn’t have to be such an uphill battle. Listed below is a step-by-step tutorial for painting over stained wood:
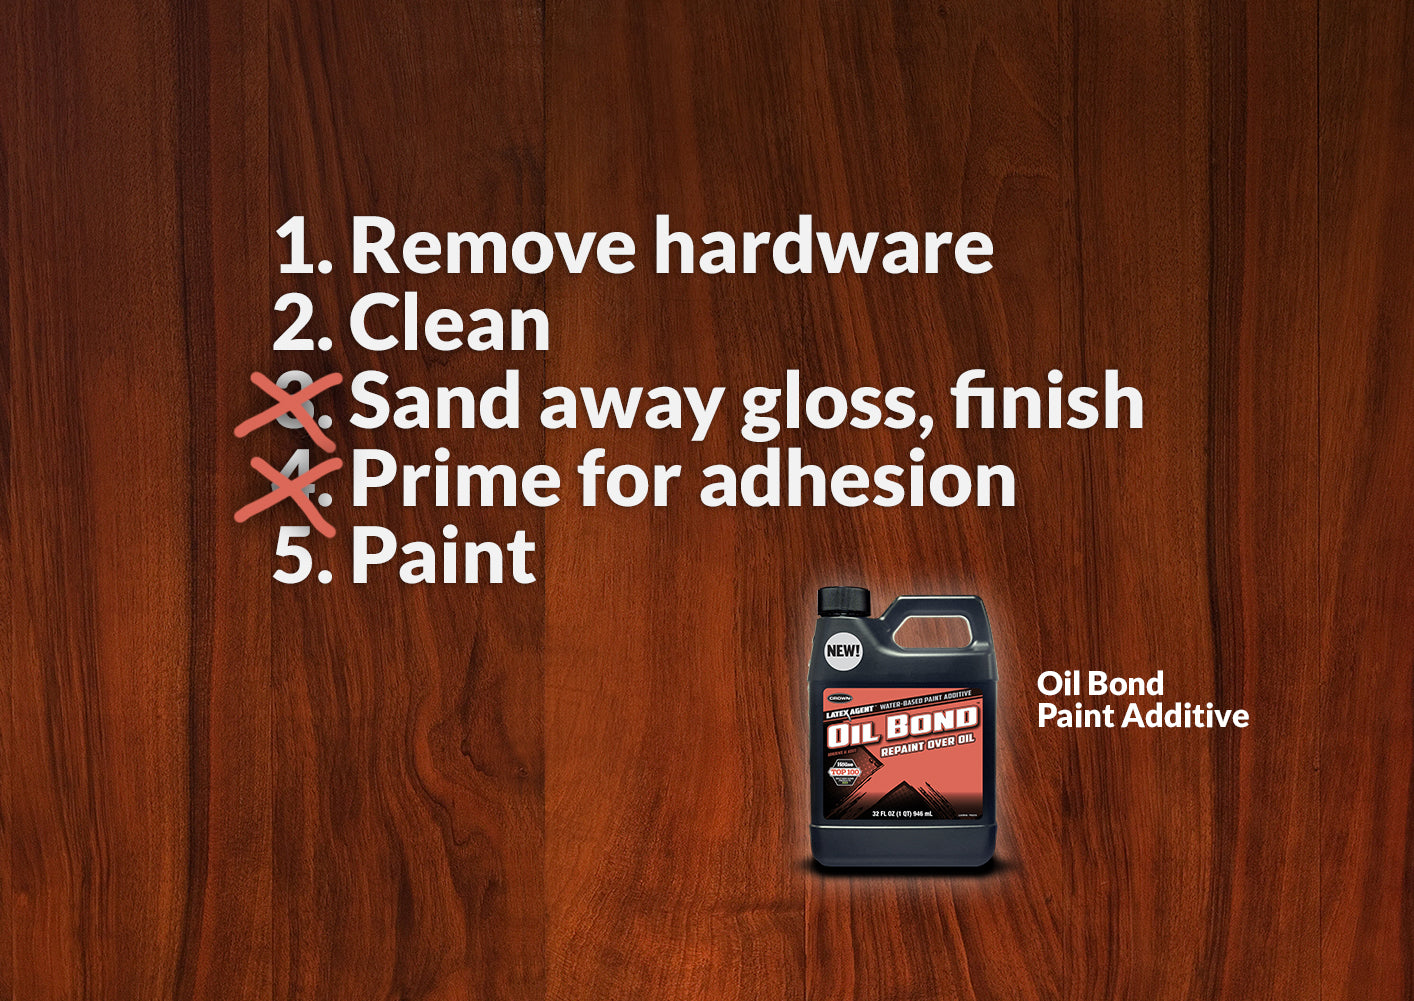
Step 1: Remove Hardware
If your stained wood item has hardware, such as a doorknob or a furniture pull, remove it first for the best results.
Step 2: Clean & Wipe
For starters, clean the stained wood item to remove any dust, dirt, cobwebs, or other material that shouldn’t be mixed in with the paint. If you’re working with excessively greasy or oily wood, clean those areas using trisodium phosphate (TSP), but handle with care because it is toxic. Once finished, let it air dry. Afterwards, pre-treat the wood with Oil Bond by wiping a layer across the entire area. This will enhance adhesion for the paint, almost like velcro.
If you used Oil Bond, you can skip Step 3 (Remove the Sanding) and Step 4 (Prime), unless priming for color-matching is required. Otherwise continue to step three.
Step 3: Remove the Sanding (or don’t!)
Most stained wood has been coated in a glossy polyurethane or varnish. If you aren’t using Oil Bond products, you won’t be able to paint over these glossy surfaces directly because the paint can't properly grip the surface. This may cause the paint to crack, chip, or peel off. Sanding will get messy. Be sure to cover all of the furniture and remove all the dishes from the cabinets. Have a dust mask handy as well as a pair of earplugs because the scratchy sound of the sandpaper against a hard surface is an uncomfortable sound. In order to allow the paint to grip to the surface of the wood, use Oil Bond. With it, you will not have to sand away the gloss or rough up the glossy surface.
Step 4: Prime (or don’t!)
If you plan on using primer, you should spend a little more money for quality purposes and buying an extra brush to use. Because primers take a while to dry, plan on spending an extra day for this process. If Oil Bond is used in step 2, it will save time (and money). Oil Bond acts as a primer specifically targeted for wood. It will then clean, degloss and pre-prime painted surfaces, most clear coat surfaces (not laminates or plastics) and most powder-coated surfaces.Step 5: Paint
Apply the latex paint with Oil Bond additive to the wood surface using a brush, roller or spray. Then, mix 16 ounces of Oil Bond per gallon of latex paint. Applications include wood that has been previously painted or has a polyurethane finish. Never again worry about durability or texture. Curious about how it works? Let us explain. Oil Bond will cross link to the pre-primed product left behind when you wipe it on. The wiped-on Oil Bond contains cleaning surfactants, deglossing agents and priming, one part, self-crosslinking resins. Use Oil Bond during the first coat of paint only. Additional coats do not require the Oil Bond additive. Then, allow to dry as directed by the paint instructions.Oil Bond and other Latex Agent products are available online. Feel free to contact us regarding your product questions or how we can help with your next paint job. Our products are designed with the professional painter in mind; let's talk.